|
|


[1빔형(SP)]
[2빔형(SP-DS)]
[3빔형(SP-TR)]
[SP-S]
[LSV-Series]
[Nano 진동측정기]
[Laser Gage Probe]
[Tonometer]
[ 복합 초정밀 측정기]
[SL 02]
[SL 03]
[SL 04]


자료 창고
|
catalog download |
|
레이저스케일 한글 매뉴얼 다운로드 |
|
레이저스케일 소프트웨어 한글 매뉴얼 다운로드 |
|
레이저진동분석기 한글 매뉴얼 다운로드 |
|
Miniature Double Plane Mirror Interferometer
SP-D Series |
||
|
Design and Operation |
|
Major Performance Features |
|
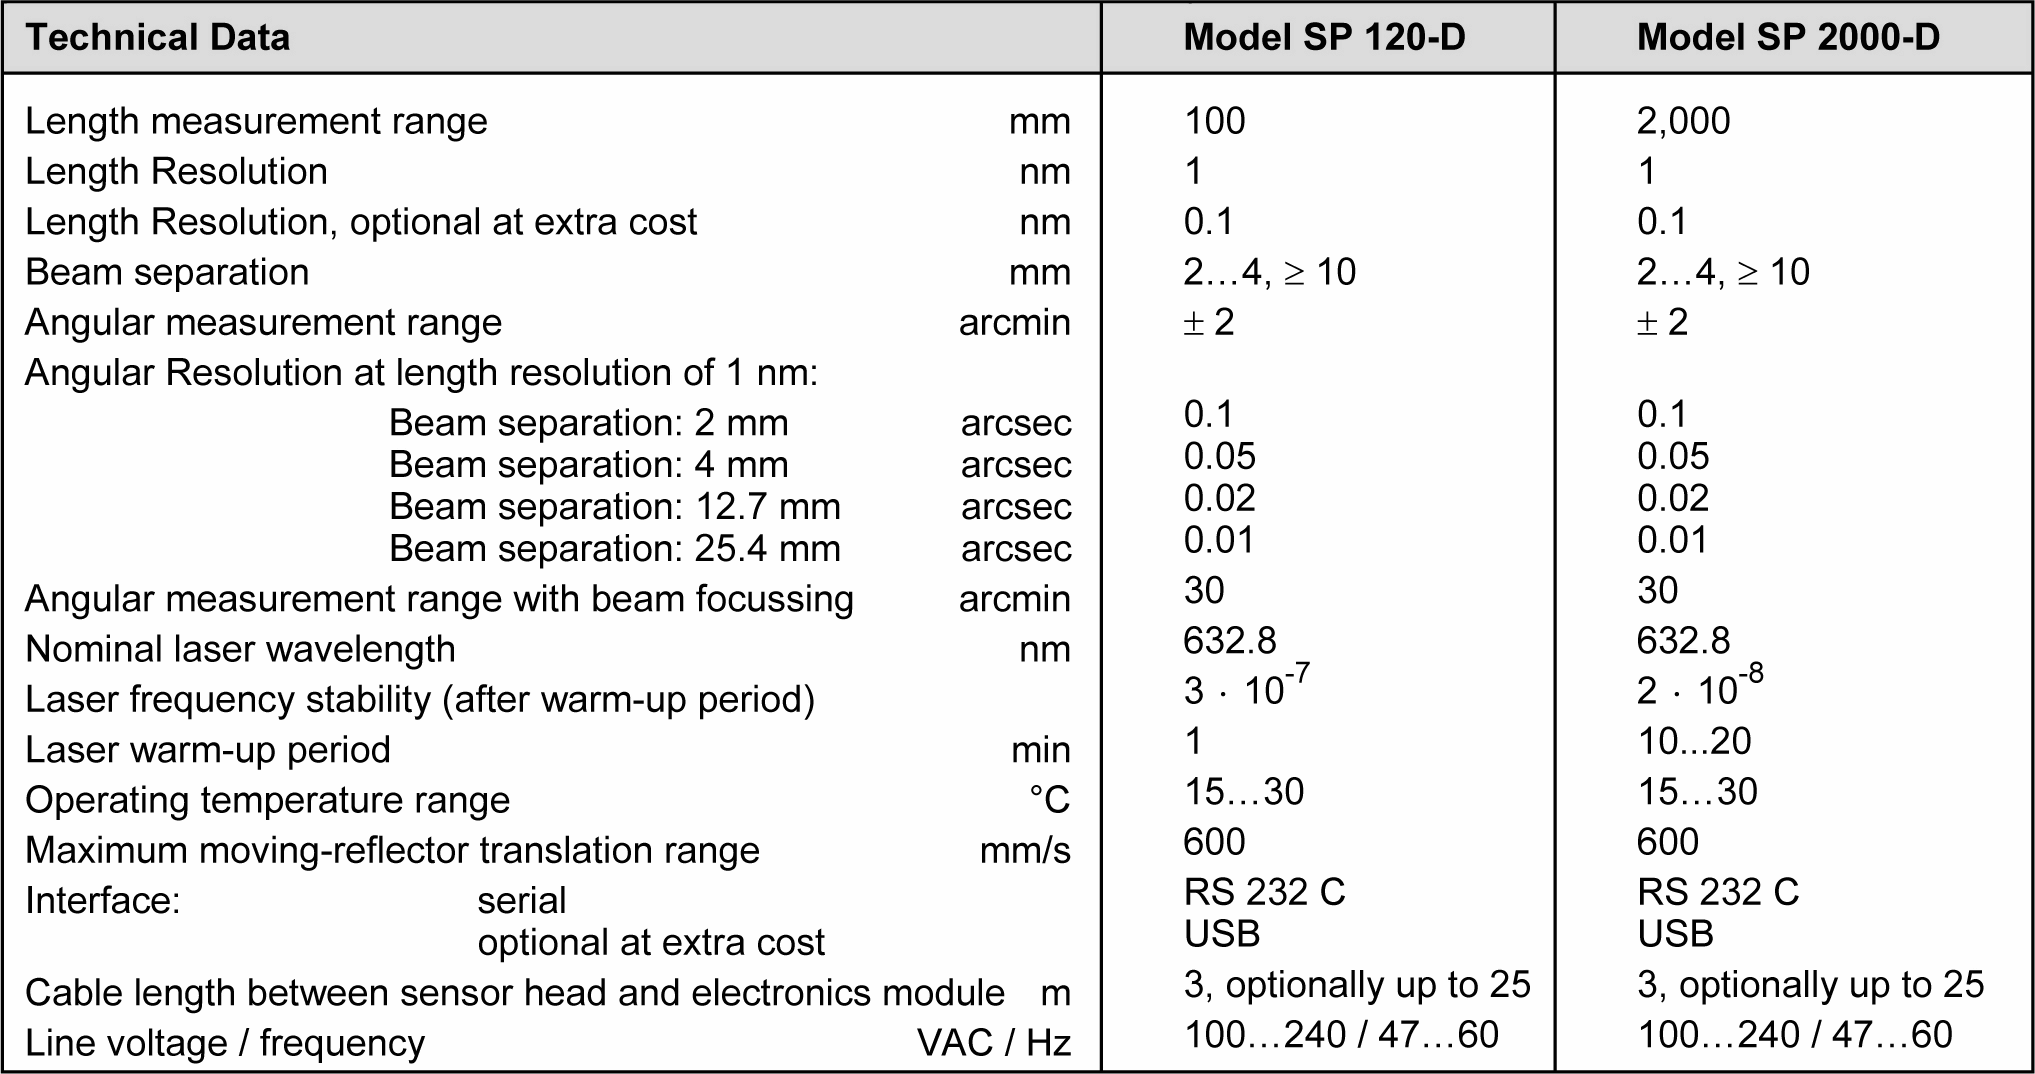
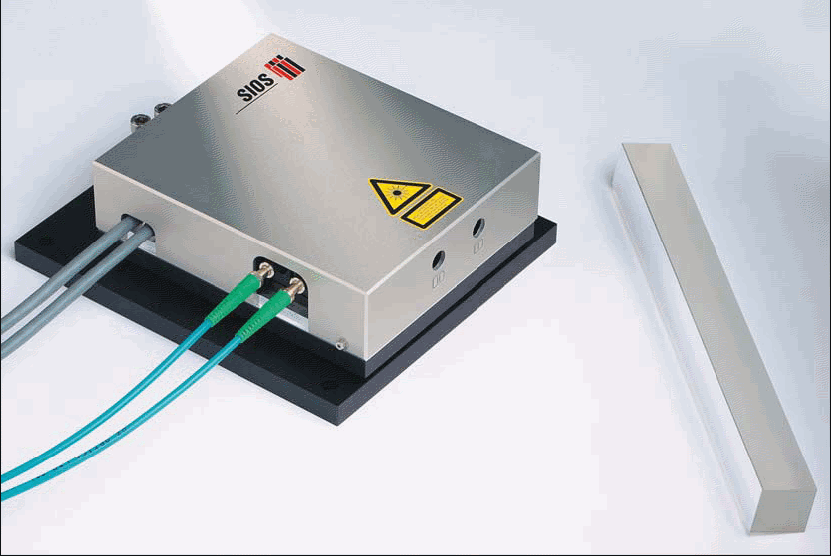
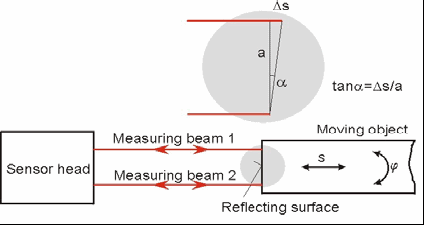
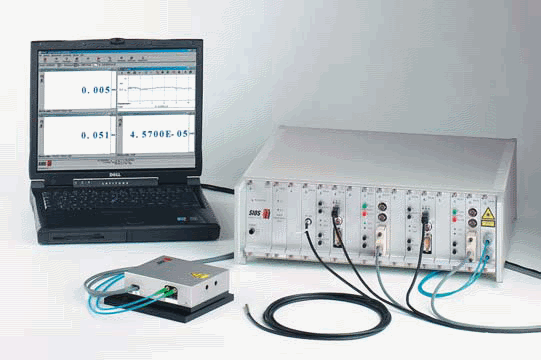
Our Series SP-D double plane mirror interferometers are designed for incorporation into customer supplied systems, and are used for simultaneously making pairs of nanoprecision length measurements. The differences in these pairs of length measurements and the separations between their two beams are then used for accurately determining the associated angles involved, where the angular measurement range is approximately two minutes of arc and independent of beam separation. In cases involving small length changes, focusing their external beams on the objects being measured increases the angular measurement range up to ± 30 minutes of arc. Laser light sources are coupled to the sensor heads via fiberoptic cables. The miniature interferometers convert motions of moving mirrors into pairs of optical interference signals that are transmitted to electronic power supply/signal processing modules for processing. HeNe lasers serve as light sources for the interferometer and are frequency stabilized on models with large dynamic ranges. Compensation of environmental influences form the basis for high metric precisions and are achieved through the correction of laser wavelengths. A PC running a custom software package is employed for operating the electronic modules and displaying measurement results. |
• Makes ultraprecise simultaneous length and angular measurements. • Employs highly frequency stabilized HeNe lasers as light sources. • Fiberoptic coupled sensor heads • The beam separations may be tailored to suit customers¡¯ special requirements. • Compensates for shifts in laser wavelength due to environmental influences. |
|
|
Operating Principle |
||
|
|
||
|
|
Applications |
|
|
• Making measurements on plane tables, microscope stages, positioning systems, coordinatemeasuring machines, or machine tools. • Correcting angular errors on dual-axis and multi-axis coordinate measuring machines. • Measuring linear displacements relative to reference points • Deformation studies • Noncontact surface profiling • Materials testing, e.g., dilatometry |
||
 |
||

경기도 화성시 반송동 93-1 위버폴리스 506호, TEL : 031-385-7828, FAX : 031-347-7828
Copyright(c) 2002 CHARM-TECH. All rights reserved.
www.charm-tech.co.kr , E-mail : master@charm-tech.co.kr


